No products in the cart.
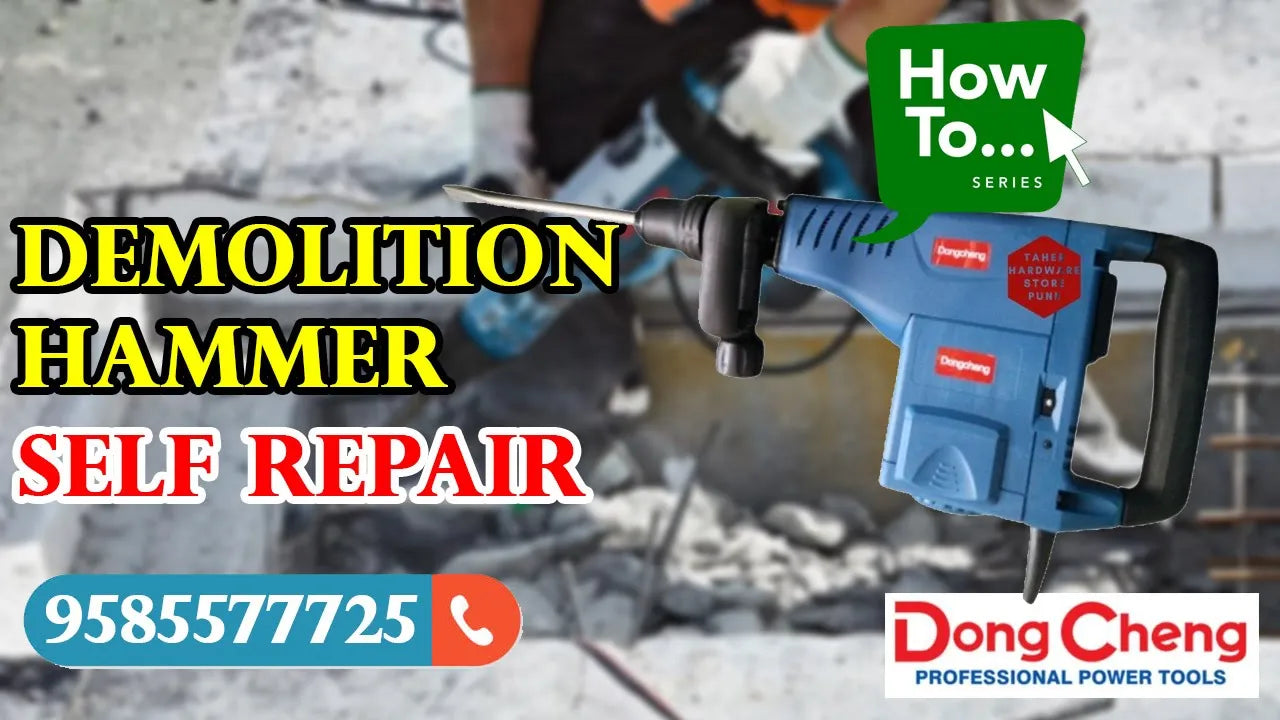
How to Self Repair a Demolition Hammer: A Step-by-Step Guide
Introduction:
Demolition hammers are powerful tools used for breaking up concrete, tile, and other masonry materials. However, with frequent use, they can develop issues that affect their performance. Instead of replacing your demolition hammer, you can try self-repairing it. In this post, we'll walk you through the steps to diagnose and fix common problems with your demolition hammer.
Common Issues:
- Worn or damaged chisels
- Loose or broken handles
- Faulty trigger mechanisms
- Clogged air vents
- Worn or damaged seals
Tools Needed:
- Basic toolkit (wrenches, pliers, screwdrivers)
- Replacement parts (chisels, handles, seals)
- Cleaning materials (brushes, solvents)
Step-by-Step Repair Guide:
1. Disassemble the Hammer: Remove the handle and any other external parts to access the internal mechanisms.
2. Inspect and Clean: Inspect the internal components and clean out any debris or dust.
3. Replace Worn or Damaged Parts: Replace any worn or damaged chisels, handles, or seals.
4. Repair Trigger Mechanism: Adjust or replace the trigger mechanism if it's faulty.
5. Reassemble: Reassemble the hammer in the reverse order of disassembly.
Tips and Precautions:
- Always follow safety guidelines when working with power tools.
- Use genuine replacement parts to ensure compatibility and performance.
- Regular maintenance can prevent future issues.
Conclusion:
Self-repairing your demolition hammer can save you time and money. By following these steps, you can identify and fix common issues and get your tool up and running again. Remember to always follow safety guidelines and use genuine replacement parts for optimal performance.
Leave a comment


About Us
#303, Pioneer Tower,
Dr. Nanjappa Road,
Coimbatore, Tamilnadu, India - 641018
- (+91) 96559 93353
- liontoolsmart@gmail.com
Locate Us!


